What does tamping mean? This article will teach you all about tamping coffee and tamping techniques!
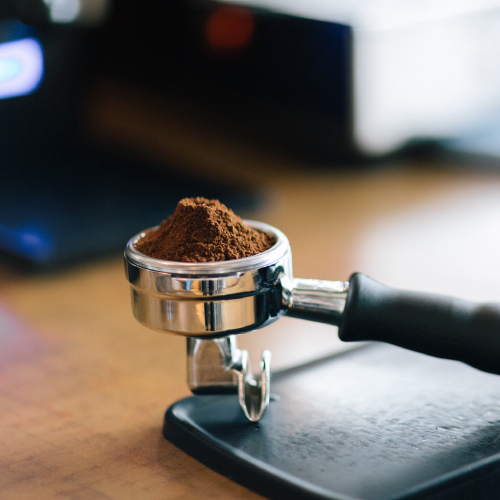
The next step, after dosing coffee into the portafilter, is to pack or tamp the loosely ground coffee in preparation for brewing. In this tutorial, you will learn why tamping is important, how to tamp correctly and bust a few tamping myths.
SO WHY TAMP
Tamping removes gaps and air pockets between the coffee grinds, creates a tight seal around the edges of the portafilter and when done correctly, creates a flat and even bed of coffee for the water to flow through, promoting an even extraction of flavour.
Water is extremely lazy and will always find the path of least resistance through the coffee. If the coffee hasn’t been evenly distributed before tamping or if tamping is uneven, areas of low and high density will exist in the coffee bed.
The pressurised water will invariably find the area of low density, as it offers the least resistance for the water. The grinds here will be exposed to a greater flow of water and the coffee will be over-extracted. The denser areas will be exposed to less water and the grinds will be under-extracted.
If the coffee bed is fractured either by tapping the side of the portafilter after tamping, or by inserting the portafilter roughly into the group head, the water will find the areas of least resistance and flow or channel through them faster than the rest of the coffee, leading to uneven extraction of flavour and an inferior shot.
TECHNIQUE – GETTING THINGS LEVEL
The primary goal with tamping coffee is to compact the bed of coffee and create a flat and even surface, for the pressurised water to flow through, evenly extracting flavour.
The way you stand, the way you hold the portafilter and the tamper, will all affect the quality of your tamp.
Follow these steps to get things level. See over page for visual examples.
1. Dose the coffee into the portafilter.
2. Distribute the grinds by tapping the side of the portafilter with your hand.
3. Stand with your body at a 90-degree angle to the bench.
4. Place the portafilter on the edge of the bench or tamping matt.
5. Hold the tamp in the palm of your hand like you would hold a torch or a doorknob.
6. Bend your elbow creating a 90-degree angle.
7. Tamp the coffee, keeping your wrist and forearm straight.
8. Check to see if the tamp is level and carefully adjust if necessary.
9. Gently remove the tamper to prevent the coffee from lifting in the basket.
10. Wipe the top of the basket to remove any loose grinds.
11. Gently place the portafilter into the group head to avoid fracturing the puck.
12. Extract the Espresso.

TECHNIQUE – GETTING THINGS LEVEL


TECHNIQUE – GETTING THE PRESSURE RIGHT
The most common question asked about tamping techniques is ‘how hard should I tamp’? In the early days, the recommended pressure was 15kg. Let’s put something into context here; an espresso machine delivers pressurised water at 9bar of pressure, equivalent to 60kgs of force per inch2. That’s a serious amount of pressure and impossible for any human to replicate.
So how hard should I tamp? Tamping should be hard enough to fully compact the grinds and create an even density of coffee throughout the basket; it should be hard enough that the coffee doesn’t fall out when the portafilter is inverted. Once the gaps between the grinds have been removed it is impossible to tamp any further, therefore when the tamp stops moving you’re done!
So don’t worry about how much pressure you use to tamp the coffee, instead, focus on good technique and the consistency of your tamp pressure, as this will determine the quality of your espresso.
SO HOW CAN YOU TELL IF YOU HAVE GOT IT RIGHT?
There are several things you can look for before and during extraction that will tell you if you have got tamping coffee right! Here are some tamping meanings.
Uneven Tamp: Visually check to see if the tamp is level before extraction, by bringing the portafilter and tamper up to eye level or use your thumb and forefinger to check for low and high points around the portafilter.
Uneven Pour: If the coffee starts pouring from one side of the spout before the other, the grinds have not been evenly distributed or the tamp is uneven.
Blonding: Blonding occurs naturally towards the end of the shot and is a sign everything worth extracting has been taken out. If blonding occurs at the start, something has gone wrong and the coffee is being under-extracted, resulting in a bitter or ashy flavour.
Watery: If the coffee looks watery at the start of extraction the water has found a crack or fracture in the puck and is channelling.
NAKED PORTAFILTER
A Naked/Bottomless Portafilter allows you to observe the extraction and is a great tool to use when practising tamping.
Perfect Shot: If you have done everything right the coffee should pour in a single stream from the centre of the portafilter. The shot will be a rich brown colour at the start of the extraction, blonding towards the end.
Channelling: Channeling can be identified by jets of water spraying out of the coffee at different angles.
Multiple Stream: Multiple streams of coffee, especially those that flow from the sides are another sign of channelling or uneven extraction due to poor technique.
